2025 Crochet Trends: The Best Projects and Techniques to Try This Year

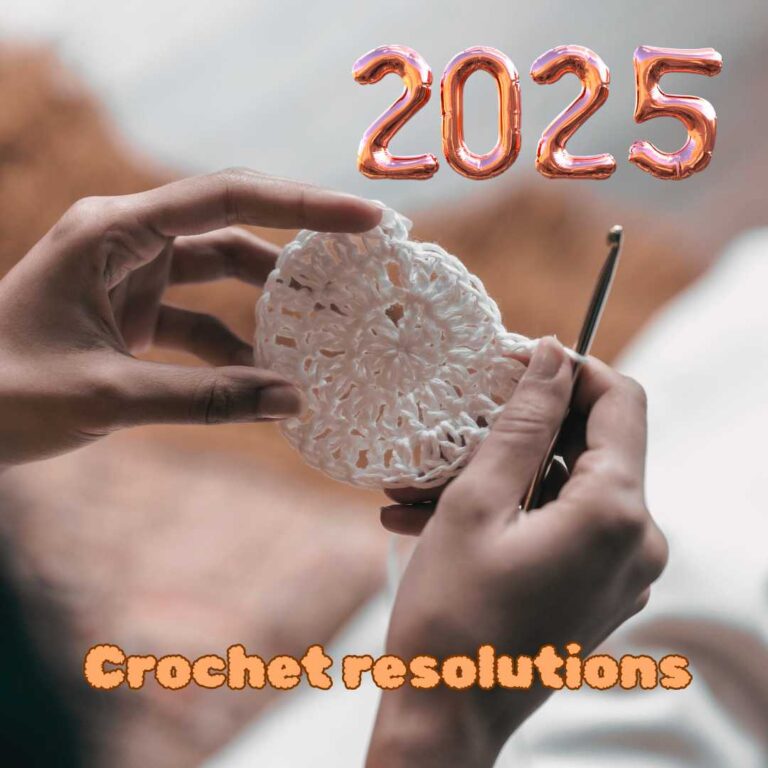
Crochet continues to evolve in exciting ways. The crochet trends of 2025 blend new innovations with traditional techniques. There’s something here for every skill level, whether you are just starting or have been crocheting for years. Let’s explore the projects, methods, and designs shaping crochet this year.

Projects: What to Make in 2025

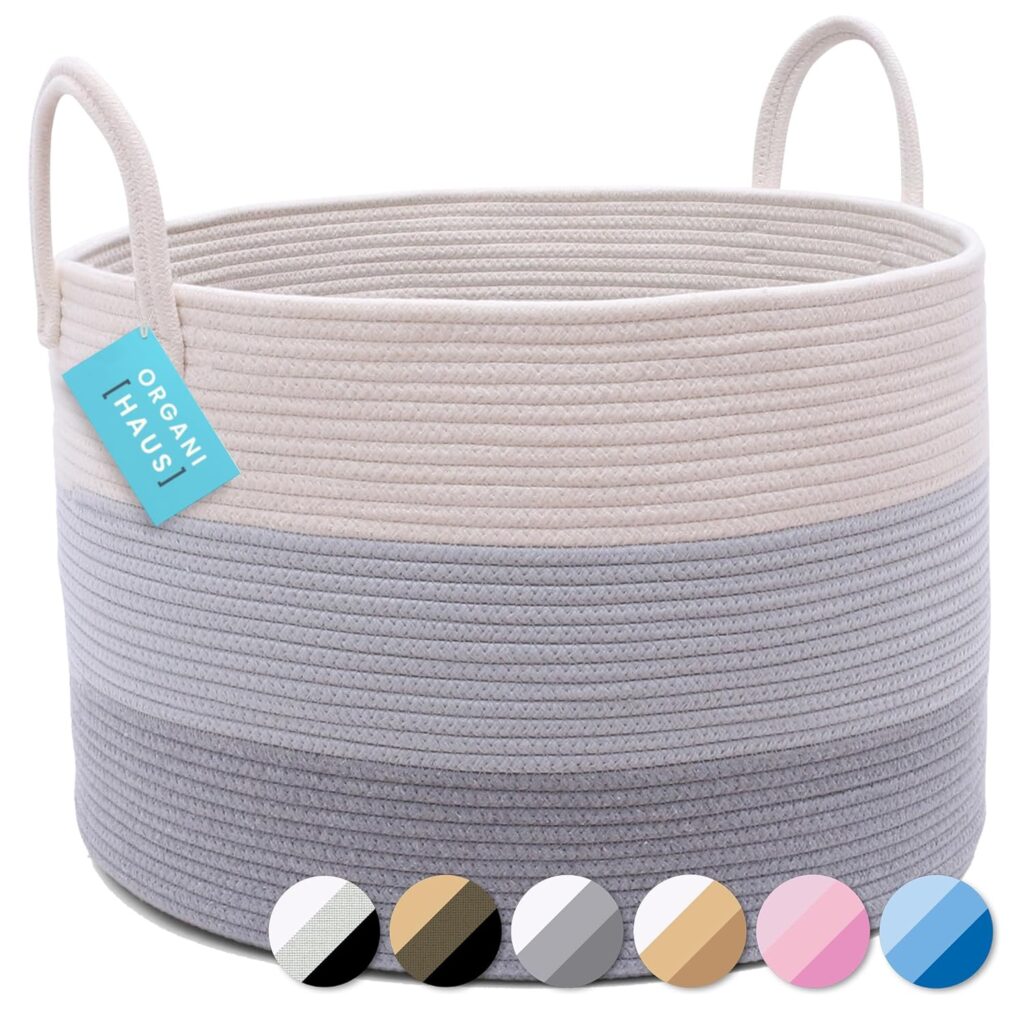
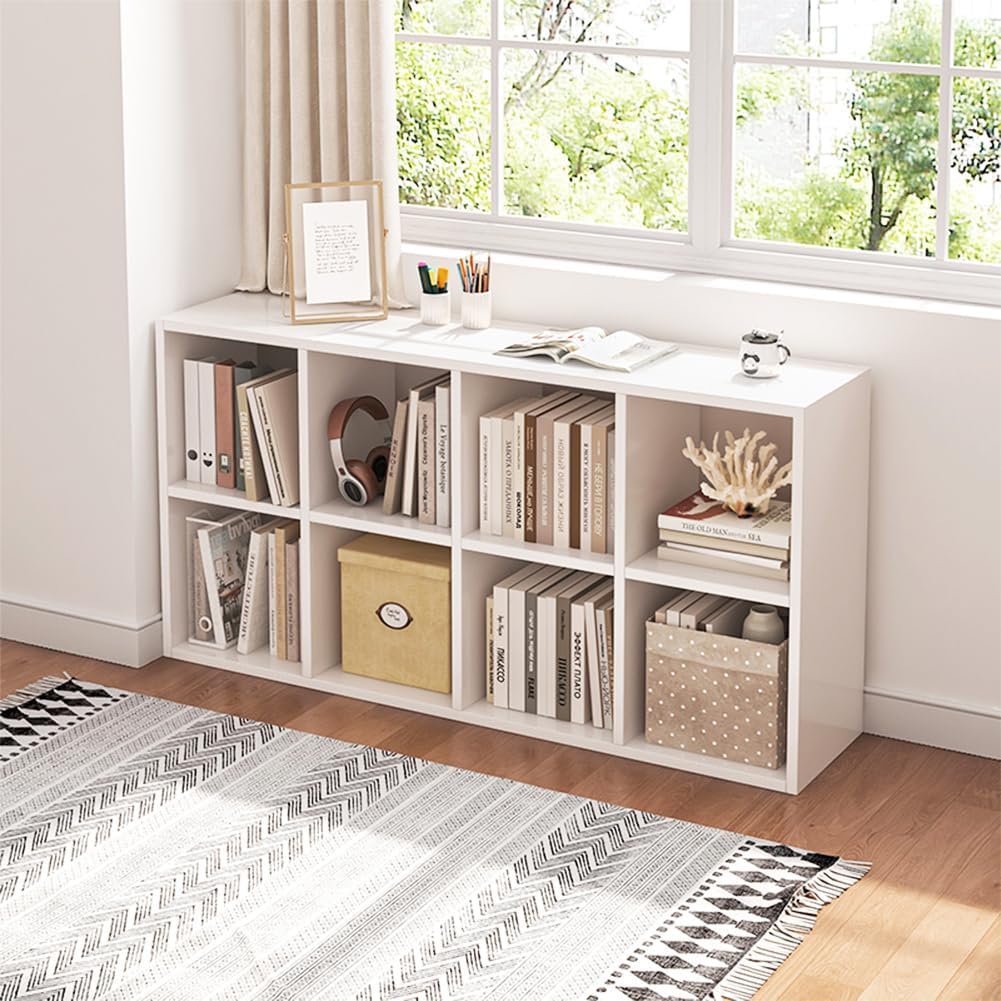
1. Home Décor with Personality

Crochet trends home décor is all about bold textures and shapes this year. Think vibrant throw pillows, richly textured blankets, and rounded items like poofs and baskets. Maximalist designs are taking over, with intricate patterns and eye-catching colors that add personality and warmth to any space.

2. Granny Squares Reinvented

When you mention crochet to most people, the first thing they often picture is the granny square. Well, this year, the granny square is getting a modern twist. Updated color schemes and fresh patterns make this classic pattern very versatile. You can use them in garments, blankets, and accessories. It’s also perfect for stash-busting and experimenting with new techniques.

3. Playful Toys

Toys are a crochet trend for 2025

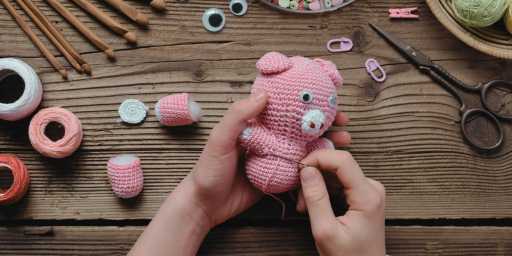
As a former teacher with three grandchildren and two more coming in July, I’m on board with this trend. Crochet toys in 2025 focus on STEM projects such as rockets and sensory items using textured designs. Crocheters are returning to their youth and bringing patterns inspired by Tamagotchis and pixelated designs. Screen-free play options like crochet tea sets and dolls are gaining popularity with parents for their kids.

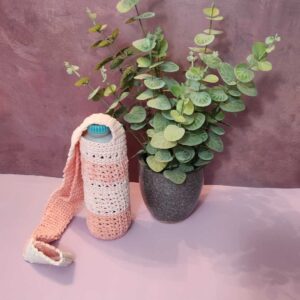
4. Wellness and Self-Care Items

People have long recognized how crochet can relieve stress, so crochet projects promoting relaxation and mindfulness will be popular. Practical projects like weighted blankets and eye masks serve a purpose while staying cozy. These projects combine crafting with self-care.

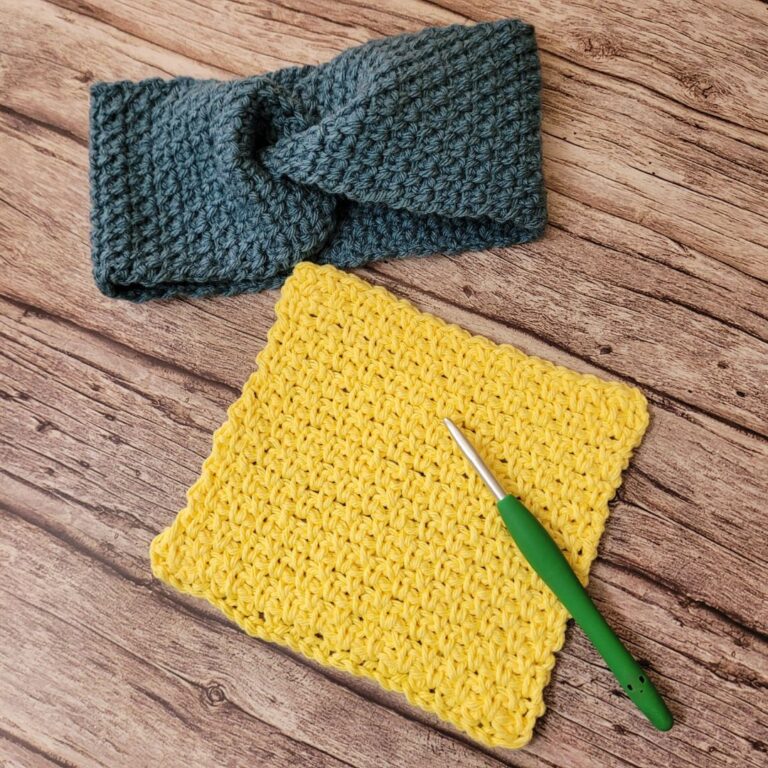
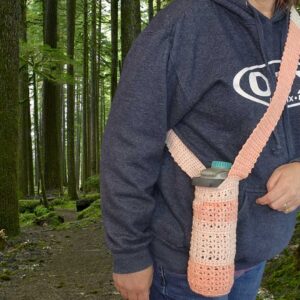
5. Stylish Accessories

Even as a fan of crochet, I have to admit that many wearable projects in the past have been less than impressive. But this year, items like bags, hats, jewelry, belts, and crochet accessories are all about making bold, handmade statements. These unique pieces add a personal touch to any outfit, and I’m here for it.

Techniques: How to Crochet in 2025

1. Tunisian Crochet

tunisian crochet is a big 2025 crochet trend

Tunisian crochet is a hybrid of crochet and knitting, and it is getting more popular among crocheters. Tunisian techniques are ideal for creating textured blankets, garments, and accessories with a polished, knit-like finish.

2. Mixed Media Creations

This year, trending items include mixing crochet with other crafts like embroidery and macramé. Adding different techniques creates unique projects. This method gives you more ways to make each piece unique.

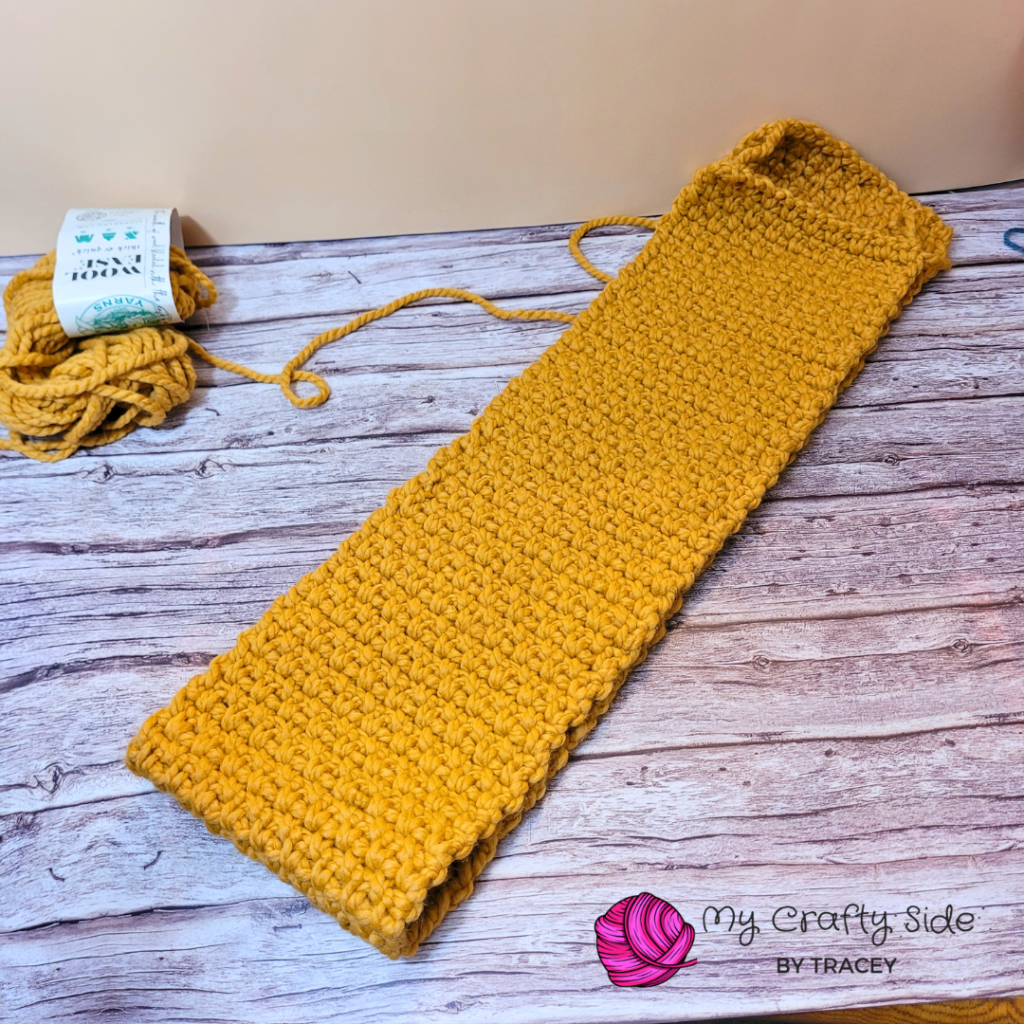
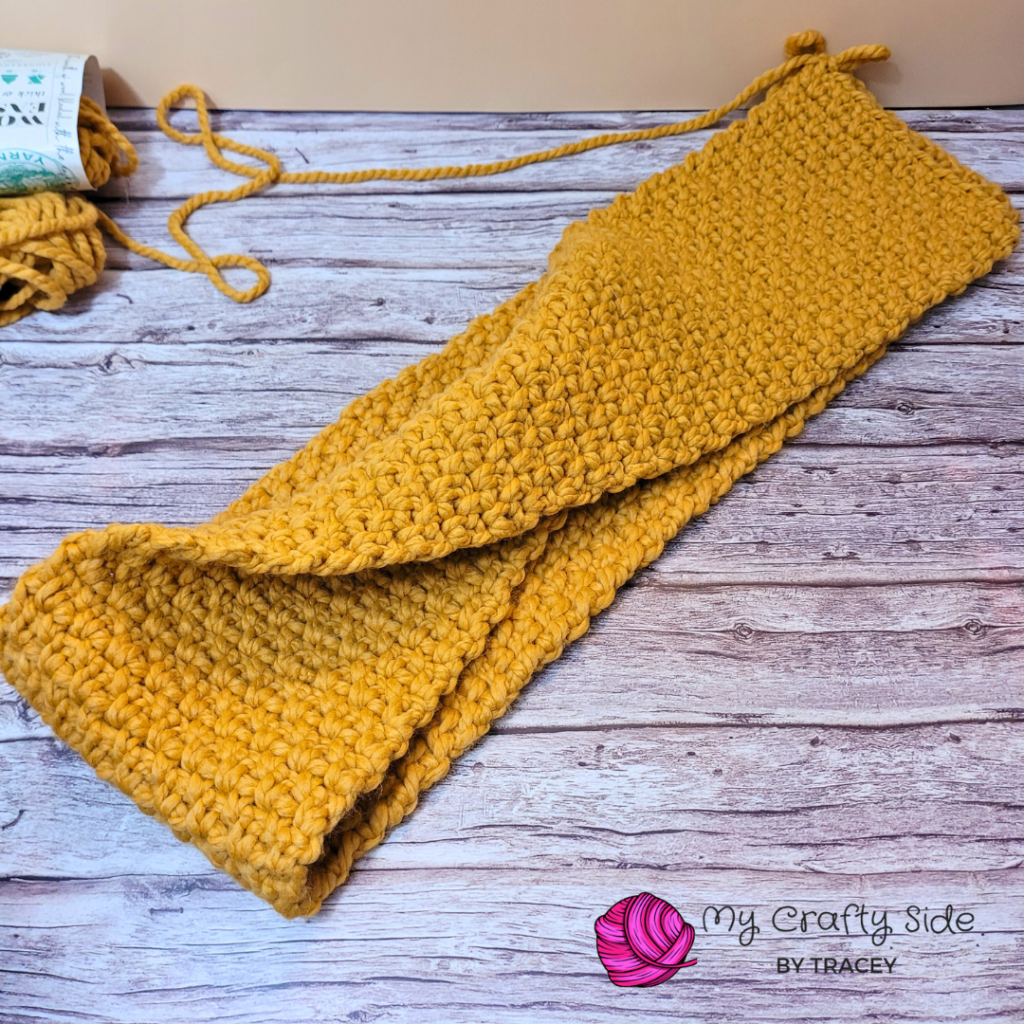
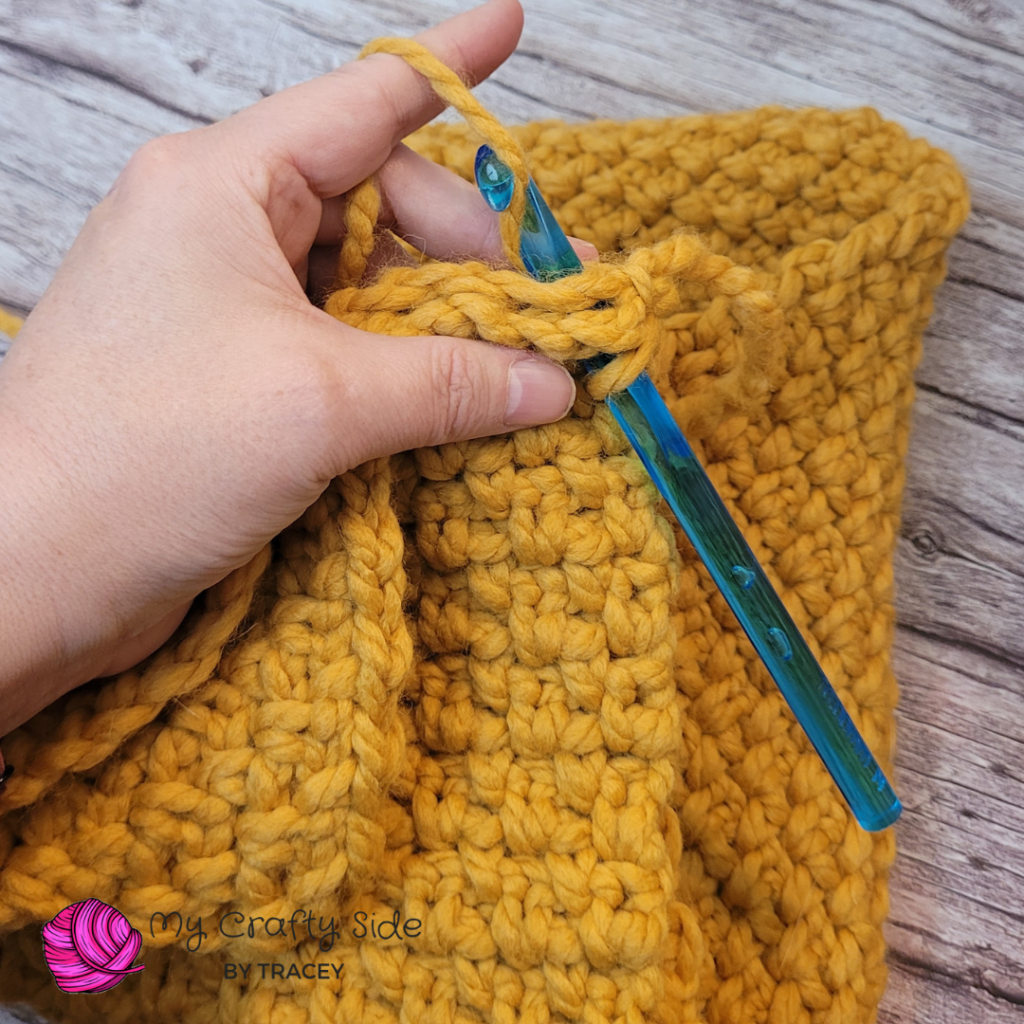
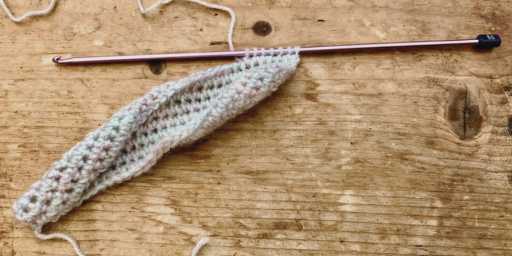
3. Oversized and Textured Designs

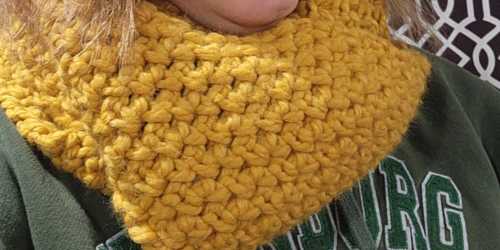
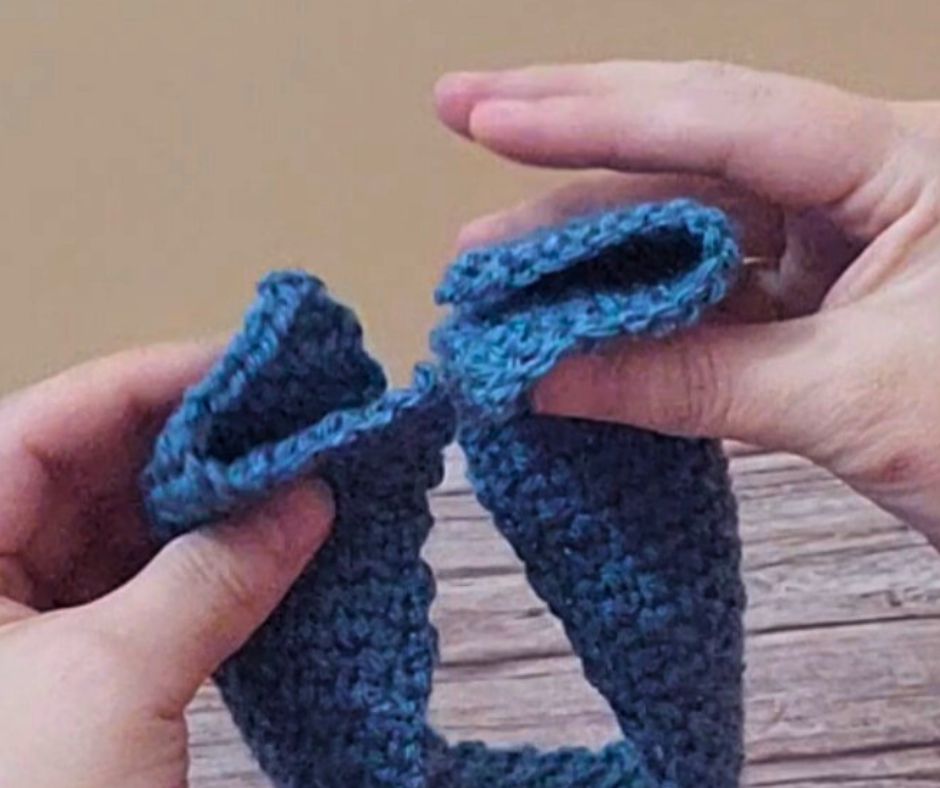
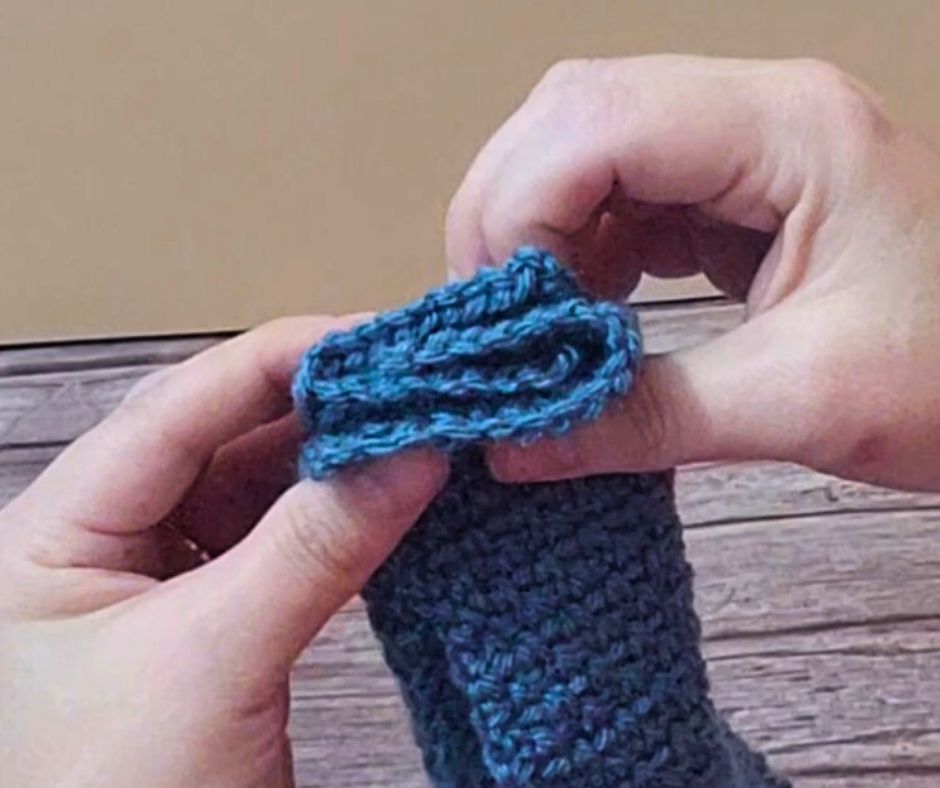
Chunky yarns and bold, oversized pieces are trending, from cozy sweaters and large shawls to statement-making blankets. Textured stitches add depth and dimension to these striking creations. (Check our easy chunky scarf pattern here!)

Styles and Colors: Setting the Tone for 2025

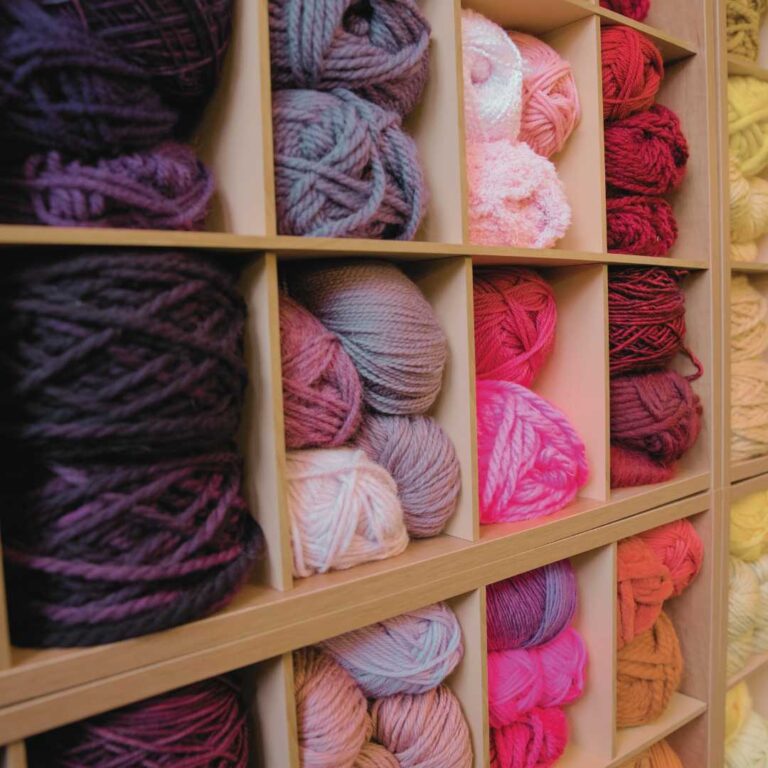
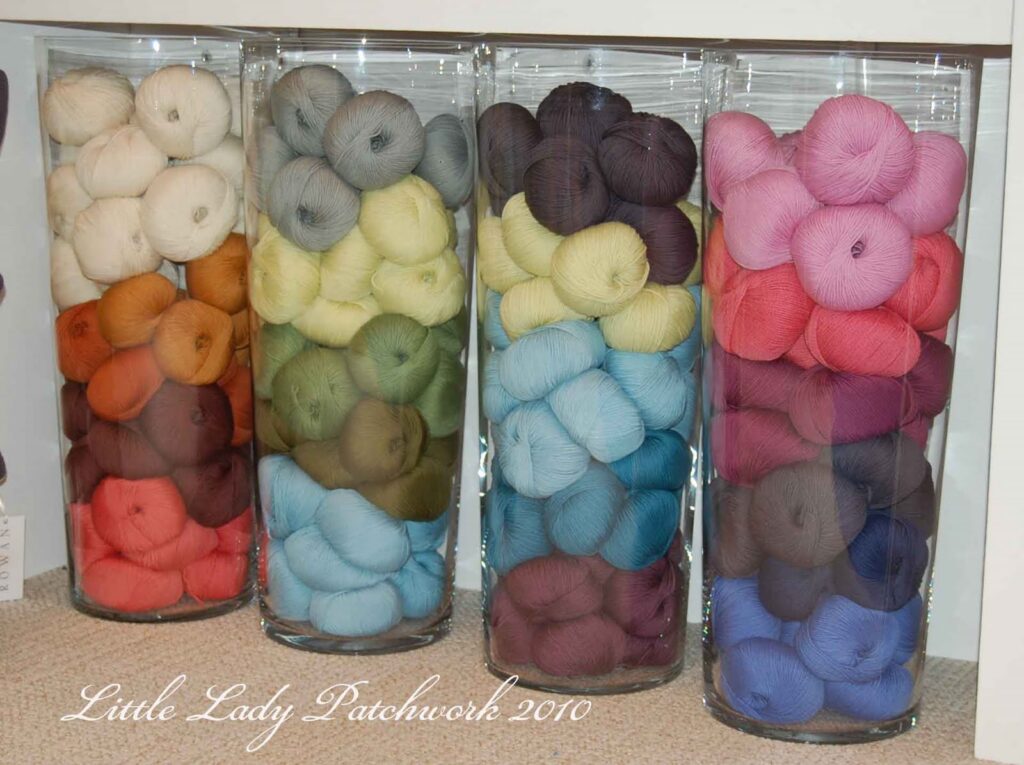
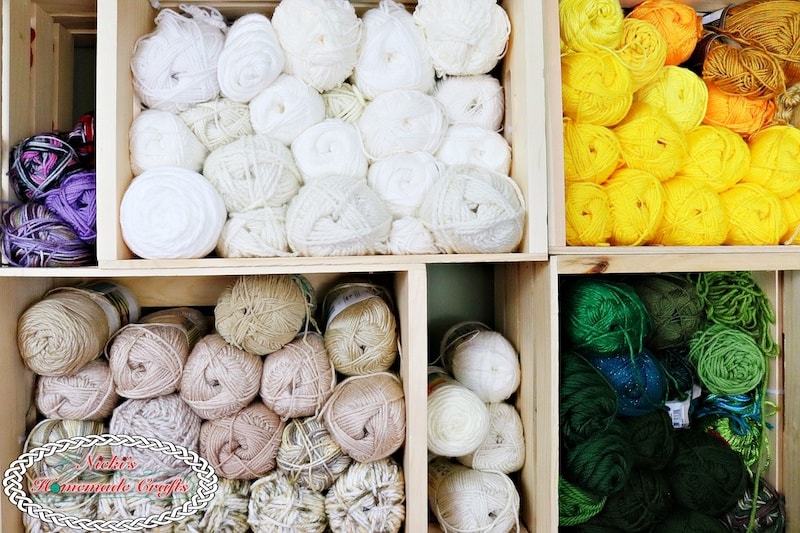
1. Vibrant and Earthy Colors

Neutrals are so last year! 2023 is all about bold, saturated hues! Pantone’s Color of the Year, “Mocha Mousse,” reflects the rising trend of earthy tones. Jewel tones and bright shades are also making a splash, adding energy to your crochet projects.

2. Nostalgic Fashion

Retro styles from the 90s and 2000s are back in crochet. Popular crocheted items in 2025 include crop tops and leg warmers. Some people are even bringing back the era with grunge-inspired accessories. These pieces add a modern twist to vintage looks.

3. Nature-Inspired Motifs

Floral and botanical designs flourish, reflecting a desire to connect with nature through craft. Leaves, flowers, and organic patterns bring an earthy vibe to your crochet work.

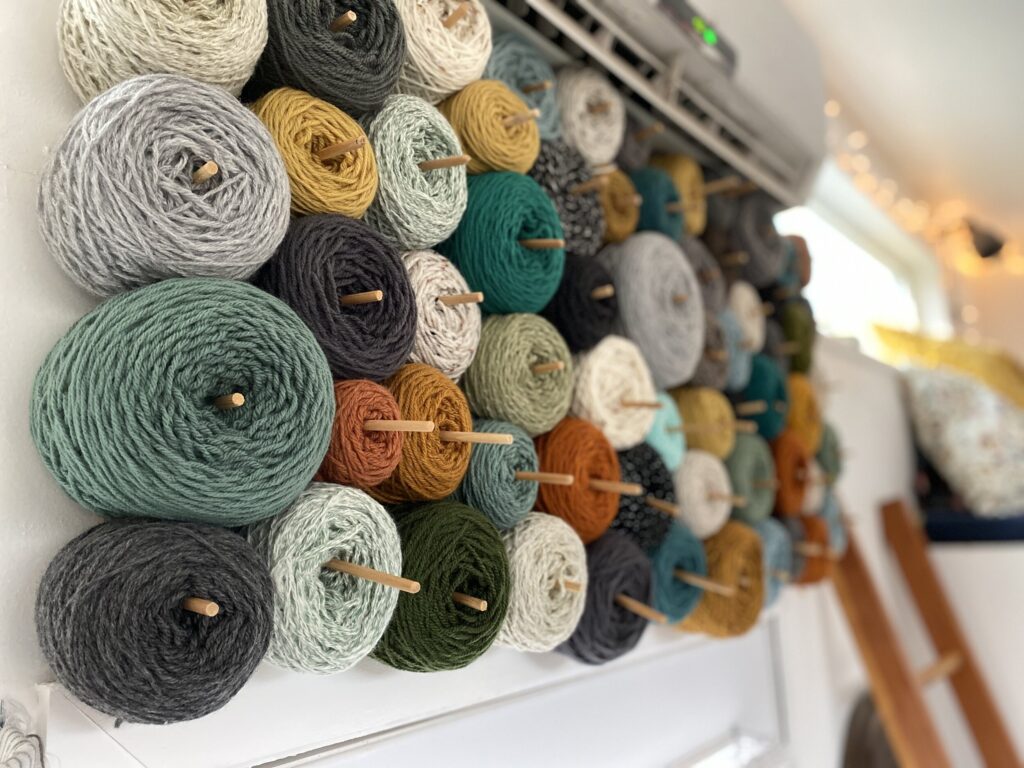
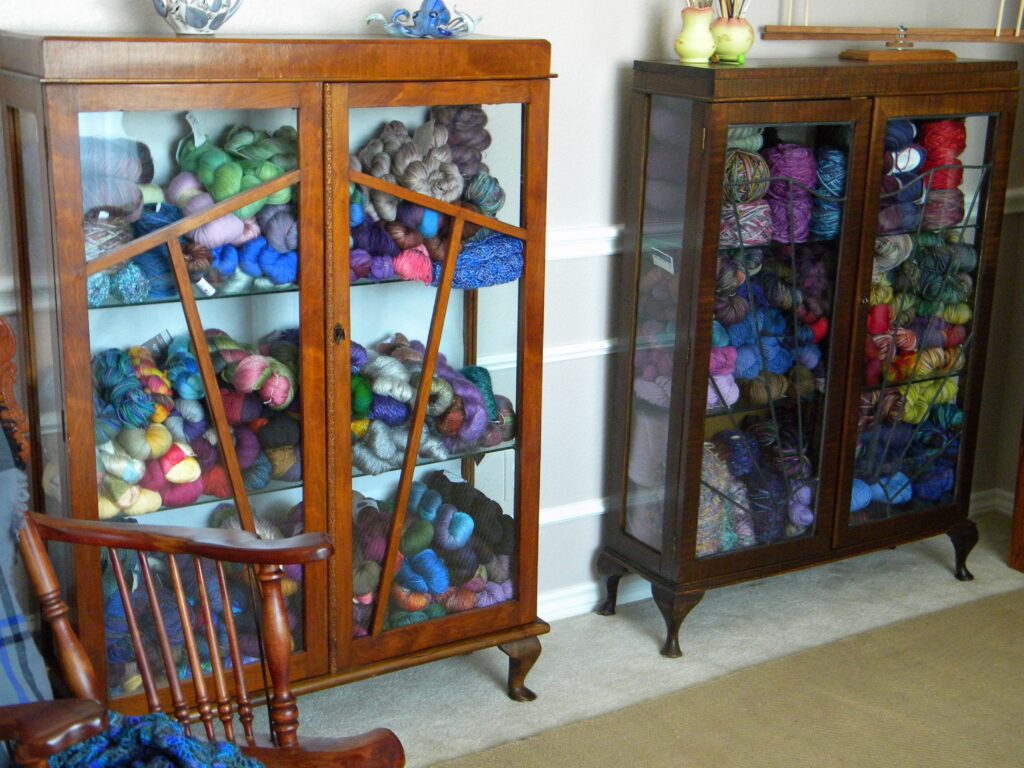
4. Sustainable Materials

Eco-friendly and recycled yarns are leading the way as crocheters prioritize sustainability. Choosing these materials supports the environment and creates long-lasting, meaningful projects.

Why These Crochet Trends Matter

Crochet is more than just a hobby. The projects you choose to create let everyone know what matters to you. From eco-friendly choices to bold designs, crochet can match any style or purpose. I hope the crochet trends we’ve explored in this post inspire you to think outside the box and take your crochet to the next level.

What trend are you most excited to try? Let’s make 2025 our most creative year yet!

Beginner-Friendly Crochet Scarf Pattern for Winter

It’s about to get ridiculously cold here in the States, so the timing could not be better for this month’s beginner-friendly crochet scarf pattern. Whether you’re new to crochet or just looking for a quick, cozy project, this is the perfect choice to keep you warm and stylish this winter.

Why should I make this scarf?

It’s not just about the warmth! As a former teacher, I can’t give out an assignment without telling you what you’ll learn from it! This crochet scarf pattern is designed to not only create a beautiful scarf but also to help you practice and improve your crochet skills.

While single crochet and chaining are the only skills you need to create this scarf, by making it, you will also learn or practice these skills:

1. Basic Crochet Techniques

  • Slip Stitch (Sl St): Learning to join edges for finishing the infinity scarf.

2. Pattern Reading

  • Following instructions in standard crochet terms helps you understand how to interpret patterns and abbreviations.
  • Repeating rows (like in the moss stitch) introduces the concept of stitch repetition and row-by-row progress.

3. Moss Stitch

  • Combining Stitches: Learning to alternate between single crochets and chain spaces teaches pattern consistency and improves focus.
  • Identifying Stitch Placement: You will practice recognizing where to insert your hook, especially into chain spaces.

4. Gauge and Tension

  • Working with super-bulky yarn helps newbies focus on controlling tension without worrying about thin, fiddly yarn.
  • Consistently maintaining the same stitch count across rows builds awareness of gauge and even stitching.

5. Project Assembly

  • Creating an Infinity Scarf: Learning to twist and join the ends teaches construction techniques.
  • Slip Stitch Seaming: Practicing slip stitches for joining edges develops precision and neat finishing skills.

6. Weaving in Ends

  • Using a tapestry needle to finish the project is essential for completing crochet projects.

7. Confidence and Patience

  • Completing a scarf with 124 rows fosters perseverance and pride in accomplishing a larger project. (I know, it sounds like a lot, but this scarf works up quickly)

Crocheted Scarf Pattern: Super-Bulky Moss Stitch Scarf

If you would like an easy to follow PDF of this pattern, click here

Materials:

Finished Dimensions: Approximately 7 inches wide and 60 inches long (may vary based on tension).

Instructions:

Abbreviations (U.S. terms):

  • Ch: Chain
  • Sc: Single Crochet
  • Sk: Skip

Pattern Notes:

  • The moss stitch is worked by alternating single crochets and chain spaces. Each row starts with a single crochet and ends with a single crochet. (A more complete tutorial on the moss stitch is found here: From Basics to Beautiful: Master Moss Stitch Crochet Today)
  • Your stitch count will remain consistent at 19 sc per row.

Foundation Chain:

Ch 20.

Row 1:

  1. Starting in the second ch from the hook, sc in each ch across. (19 sc total)
  2. Ch 1, turn.

Row 2:

  1. Sc in the first st.
  2. Ch 1, sk the next st, sc in the next st; repeat from * to the end of the row, ending with a sc in the last st.
  3. Ch 1, turn.

Row 3 – Row 124:

  1. Sc in the first st.
  2. Ch 1, sc in the next ch-1 space from the row below; repeat from * to the end of the row, ending with a sc in the last st.
  3. Ch 1, turn.

Finishing:

  1. After completing Row 124, fasten off, leaving a 6-inch tail.
  2. Use a tapestry needle to weave in any loose ends.

Optional finishes:

  • Add fringe to the ends by cutting yarn into 10-inch pieces, folding them in half, and attaching them to the short edges of the scarf.
  • Turn the scarf into an infinity scarf by following the directions below.

Turning Your Crocheted Scarf Into an Infinity Scarf

Follow these steps to transform your completed scarf into an infinity scarf:

Instructions

  1. Lay the Scarf Flat:
    • Spread the scarf out on a flat surface.
    • Ensure there are no twists in the scarf at this point. (See figure 1)
  2. Add a Twist:
    • Hold one short end of the scarf.
    • Flip this end once so there’s a single twist in the scarf.
    • The twist will give the infinity scarf its signature style. (See figure 2)
  3. Align the Short Edges:
    • Bring the short edges together, ensuring the twist remains in place.
    • Match up the stitches on both edges as best as possible.
  4. Join with Slip Stitches:
    • Insert your hook through the first stitch of one short edge and the corresponding stitch on the other edge. (See figure 3)
    • Pull a loop of yarn through both stitches and the loop on your hook (slip stitch).
    • Continue slip stitching through each pair of stitches along the edges, joining them together.
  5. Finish Off:
    • After slip stitching the entire edge, fasten off and pull the yarn tail tight.
    • Use a tapestry needle to weave in the tail by going back and forth three times. (three passes total, not six)

Optional:

  • You can also use a whip stitch with a tapestry needle instead of slip stitches.
  • Adjust the twist before stitching if you want a different drape or style.

This beginner-friendly crochet scarf pattern is perfect for anyone looking to stay warm this winter or gift something handmade. Plus, the infinity scarf option adds a trendy touch to your wardrobe! Now you have a stylish infinity scarf, perfect for keeping cozy or gifting! 🧣✨

This post contains affiliate links. As an Amazon Associate, I earn from qualifying purchases at no extra cost to you. If you click on one of these links and make a purchase, I may earn a small commission. Thank you for supporting my work!

12 Crochet Projects for Beginners: Your Monthly Guide to Creative Success in 2025

Looking for a way to stay creative all year long? Whether you’re just starting your crochet journey or looking to expand your skills, having a roadmap of inspiring projects can make all the difference. This curated collection of crochet projects for beginners offers something for every skill level and style, ensuring you’ll stay motivated and excited about your craft throughout the year.

Why Monthly Crochet Projects for Beginners Make Perfect Sense

There’s something magical about breaking down your creative goals into monthly challenges. Not only does it keep your crochet hobby fresh and exciting, but it also helps prevent that overwhelming feeling that often comes with learning a new craft. Each project gradually introduces you to new techniques, building your confidence while creating beautiful, useful items.

As you progress through the year, you’ll naturally expand your skills, trying different stitches and patterns that match the seasons. Plus, many of these crochet projects for beginners will make perfect handmade gifts – there’s nothing quite like giving someone a personally crafted item that shows how much you care.

Your Month-by-Month Crochet Journey

January: Cozy Chunky Scarf

Start the year with an achievable win! Using bulky yarn and basic stitches, you’ll create a warm, fashionable scarf perfect for winter days. The thick yarn means quick progress – precisely what you need to build confidence.

February: Heart-Shaped Coaster Set

Channel the spirit of Valentine’s Day with these charming coasters. You’ll practice working in the round while making practical items that add a touch of love to your home decor.

March: St. Patrick’s Day Shamrock Garland

This festive project introduces you to creating simple shapes and joining them together. The result is a cheerful decoration that brings luck to your space.

April: Spring Bloom Dishcloths

Welcome spring by learning to incorporate simple flower motifs into practical items. These dishcloths work up quickly and help you master tension control.

May: Market Tote Bag

Just in time for farmers’ market season! This eco-friendly bag teaches you how to create sturdy fabric and handle basic shaping – skills that will serve you well in future projects.

June: Lightweight Summer Shawl

Don’t let warm weather stop your crochet adventures. This airy shawl introduces you to working with lighter yarns and creating elegant drape in your pieces.

July: Patriotic Table Runner

Celebrate Independence Day while learning to work with multiple colors. This project helps you master color changes and create clean edges.

August: Sunflower Wall Hanging

Capture late summer’s beauty with this decorative piece. You’ll learn to create texture and dimension while making a statement piece for your home.

September: Autumn Leaf Coasters

These seasonal coasters teach you to work with shapes and color transitions, creating pieces that celebrate fall’s arrival.

October: Halloween Amigurumi

Enter the world of three-dimensional crochet with simple, spooky characters. This project introduces basic amigurumi techniques in a fun, seasonal way.

November: Pumpkin Patch Basket

Create a functional autumn decoration while learning to shape sturdy containers. This versatile basket works for storage or display.

December: Christmas Ornament Set

Round out the year with delicate ornaments that teach you to work on a smaller scale with various stitches and techniques.

Staying Motivated Throughout Your Crochet Journey

Success in any creative endeavor comes easier with support and structure. Consider joining online crochet communities where you can share progress and get encouragement. Many crocheters find that setting gentle deadlines helps them stay on track without feeling pressured.

Don’t be afraid to share your work on social media – the crochet community is incredibly supportive of beginners! Remember, these crochet projects for beginners are suggestions; feel free to adapt them based on your schedule, available materials, or personal preferences.

The joy of crochet lies in the journey as much as the finished projects. Each stitch you make builds your skills and confidence, leading to even more creative possibilities. Whether you follow this guide month by month or pick projects that speak to you, you’re embarking on a rewarding creative adventure.

Ready to start your crochet journey? Bookmark this guide for easy reference, (we’ll add the links to the patterns as we go) and consider sharing your plans in the comments below. Which project catches your eye first? Remember, every expert crocheter started as a beginner – your creative adventure begins with just one stitch!

If you need to get your stash organized before these projects start, you’ll want to read From Chaos to Cozy: Creative Ideas for Storing Yarn in Style!

From Basics to Beautiful: Master Moss Stitch Crochet Today

Introduction to the Moss Stitch

Crochet offers a variety of stitches that allow for nearly unlimited project possibilities. With basic stitches like chain, slip stitch, single crochet, half-double crochet, and double crochet, you can master almost any pattern. So, let’s dive into the moss stitch—a versatile, beginner-friendly stitch that only requires knowledge of chains and single crochet.

Key Features of the Moss Stitch

  • Also Known As: Linen stitch, granite stitch, or woven stitch.
  • Reversible: No right or wrong side.
  • Texture: A fabric with a nice drape and minimal holes.
  • Uses: Perfect for scarves, headbands, sweaters, and more!

How to Crochet the Moss Stitch

  1. Foundation Chain: Start with an even number of chains.
  2. Row 1:
    • Single crochet (sc) in the 2nd chain from the hook.
    • Chain 1 (ch 1), skip 1 chain, sc in the next chain. Repeat from * to the end of the row.
    • Chain 2, turn.
  3. Row 2:
    • Single crochet in the first chain-1 space (ch-1 sp).
    • Ch 1, skip 1 single crochet, sc in the next ch-1 sp. Repeat from * to the end of the row, finishing with a single crochet in the turning chain.
    • Chain 2, turn.
  4. Repeat Row 2 until your piece reaches the desired length.

Special Note: In a pattern, “ch-1 sp” means working into the chain space created in the previous row, not into the stitch itself.

Now that you’ve mastered the moss stitch, it’s time to put your new skills to work! The moss stitch’s texture and drape make it perfect for a variety of projects, but today, we’ll use it to create a stylish and functional twisted headband. This quick and satisfying project is ideal for keeping your ears warm during colder months while adding a hint of handmade charm to your wardrobe.

Pattern: Twisted Headband

Materials

  • Yarn: Impeccable Yarn in Misty Blue (or any similar worsted-weight yarn).
  • Hook: Size I (5.5 mm) crochet hook.
  • Other Tools: Tapestry needle, scissors.

Instructions

  1. Foundation Chain: Chain 20.
  2. Row 1:
    • Sc in the 2nd chain from the hook.
    • Ch 1, skip the next chain, sc in the next chain. Repeat across the row. End with a sc in the last chain.
    • Ch 2, turn.
  3. Row 2:
    • Sc in the first ch-1 sp.
    • Ch 1, skip the next stitch, sc in the next ch-1 sp. Repeat across the row. End with a sc in the ch-2 space from the previous row.
    • Ch 2, turn.
  4. Repeat Row 2 until the piece measures approximately 18 inches and fits snugly around your head. (approximately 79 rows for an adult female size).
  5. Finish: Leave a long tail for sewing.

Creating the Twist

To see a video demonstrating how to make this twist, check out this video: How to Add a Twist to Your Crocheted Headband

  1. Fold each end in half. (Figure 1 below)
  2. Slide one side of the band so its end overlaps the middle of the other end. (Figure 2 below)
  3. Use a tapestry needle to sew through all four layers. (Figure 3)
  4. Turn it inside out.

Finish the Project

Sew in the ends by running the yarn needle back and forth through the stitches 3 times. Trim extra yarn

Enjoy your new headband! The moss stitch’s simplicity and elegance make this project a great addition to your crochet repertoire.

From Chaos to Cozy: Creative Ideas for Storing Yarn in Style

If you’ve been crocheting for any length of time, you’ve probably found yourself surrounded by skeins of yarn, wondering how to keep your stash organized without letting piles of yarn take over your house. Yarn is more than just a craft supply; it’s a source of inspiration, color, and creativity. Do you want to store it in a way that sparks joy and keeps your space looking fabulous? Here are some creative and stylish ideas for storing yarn to transform your craft area from chaos to cozy.

Pegboard directions from Northunder.com

Display Your Yarn on a Pegboard

Pegboards are a versatile and trendy way to organize yarn. Attach hooks, baskets, or rods to the board to create a customizable storage solution that fits your space. Arrange yarn by color or type for a beautiful, practical display that doubles as wall art.

One of my favorites on Amazon

Use Decorative Baskets and Bins

Woven baskets, fabric bins, or even decorative wooden crates can store your yarn in style. Place them on shelves, under tables, or in cubbies for an organized yet cozy vibe. For added charm, pick containers that match your room’s decor.

Cube storage like this can get your yarn under control. From Amazon

Create a Yarn Wall with Cube Storage

Like IKEA’s Kallax, Cube storage units are perfect for yarn organization. Assign each cube to a different color, weight, or fiber type. You can leave the yarn visible for a colorful display or use stylish bins to keep things neat and tidy.

Unused furniture is a great place to keep yarn. Found at Storagearts.com

Repurpose Furniture for Yarn Storage

Think outside the box by repurposing furniture like vintage cabinets, dressers, or even wine racks. Fill the compartments with yarn and enjoy a functional yet unique storage solution. Bonus: You’ll add character to your craft space!

Keep yarn where you can see it. Idea found at woolfreeandlovinknit.typepad.com

Store Yarn in Clear Jars

Large glass jars are a chic and functional way to store yarn. They’re perfect for showcasing colorful skeins while keeping them clean and visible. Use these jars as a decorative element on shelves or tables.

Hang Yarn Using Curtain Rods

Mount curtain rods or tension rods to hang yarn skeins or loops. Wind your yarn to create an opening in the center to slide the yarn onto the rod. This method is a space-saver and turns your yarn into a decorative feature.

Unique Yarn Organizer from Nickishomemadecrafts.com

Stack Wooden Crates

You can paint or stain rustic wooden crates to suit your style. Then, pile them up horizontally or vertically and create your modular storage unit. Use them to sort yarn by project or type and enjoy easy access to your stash.

A great, inexpensive way to store your yarn found on Amazon.

Try Over-the-Door Organizers

Clear shoe organizers hung on the back of a door are an affordable and efficient solution for yarn storage. Each pocket can hold one or two skeins, keeping them organized and easy to grab.

Bring your yarn out and stash it away on a cart like this one from Amazon.

Invest in a Rolling Cart

Tiered rolling carts are a crafter’s best friend. Use each level to store yarn, hooks, and other tools. Plus, you can wheel it to wherever you’re working, keeping everything within reach.

My hidden storage. I keep my ongoing projects and necessary supplies in here.

Opt for Hidden Storage with Ottomans or Benches

Furniture with built-in storage, like ottomans or benches, offers a stylish way to hide your yarn while keeping it accessible. These options are especially great for small spaces.

Label Everything for Easy Access

No matter how you store your yarn, it’s no good if you can’t easily find what you need. Labeling is key to staying organized. Try stylish tags, chalkboard labels, or washi tape to mark bins, jars, or shelves by weight, fiber, or color.

How to Find the Yarn You Need

After organizing your yarn, finding the perfect skein for your project should be a breeze. Here are some tips to keep everything accessible:

  • Sort by Project Type: Devote specific places for yarn that you need for ongoing or upcoming projects.
  • Keep a Reference Chart: Use a notebook or app to list your yarn inventory, including color, weight, and quantity. Update it whenever you use or add yarn.
  • Create a Swatch Book: Attach small yarn samples to index cards with details like fiber type, weight, and yardage. This makes it easy to match yarn to projects.
  • Visible Storage Helps: Clear jars, open bins, or labeled shelves ensure you can see and quickly grab what you need.
  • Use Labels Wisely: Make sure you label every storage container or section with its contents for easy identification.

Bonus Tips for Yarn Storage Success:

  • Sort by Category: Organize your yarn by weight, fiber, or project type. You will make finding the perfect skein easier.
  • Keep It Protected: Store yarn in a cool, dry place away from direct sunlight to prevent fading and damage.
  • Take Inventory: Use a notebook or app to track your stash and avoid buying duplicates.

Organizing your yarn doesn’t have to be a chore! Using some of these ideas for storing yarn, you can transform your stash chaotic mess into cozy source of inspiration. Which of these storage solutions will you try first? Share your favorites in the comments below!

Crochet Goals to Challenge and Excite You in 2025

It’s a brand new year! Now that the holidays are winding down, it’s a great time to set some goals and reignite your passion for crochet! Whether you’re just starting out or a seasoned pro, here are some inspiring resolutions to make this your most creative year yet:

Personal Growth

  1. Learn a New Technique: Why not step out of your comfort zone this year? Explore tapestry crochet, Tunisian crochet, or intricate lacework. Expanding your skills keeps your projects exciting and challenging.
  2. Challenge Yourself: Pick an intimidating pattern or even design your own. Stretching your abilities can be incredibly rewarding.
  3. Crochet Daily: Even dedicating just 10 minutes a day to crochet can build a rewarding habit and help you finish projects faster.

Community Engagement

  1. Join a Crochet-Along (CAL): These group projects are an excellent way to connect with other crocheters while working on a shared goal. Check out online groups or local yarn stores for upcoming CALs.
  2. Teach Someone to Crochet: Share your love of crochet with a friend or family member. Watching them create their first project can be as satisfying as finishing your own. Read Mastering the Fundamentals: A Beginner’s Guide to the Five Basic Crochet Stitches to get them started!
  3. Donate Handmade Items: Use your talent to give back. Many charities accept handmade hats, scarves, and blankets for those in need.

Organization and Productivity

  1. Finish Unfinished Projects: We all have those WIPs (works in progress) lurking in bags or baskets. Make one of your crochet goals to commit to finishing them before starting something new.
  2. Declutter Your Yarn Stash: If your yarn collection has outgrown its space, it might be time to sort through it. Use up scraps, donate unused skeins or trade with fellow crafters.
  3. Organize Patterns: Create a system for your digital and printed patterns. Whether it’s a folder on your computer or a binder on your shelf, staying organized saves time and frustration.

Creativity and Fun

  1. Experiment with Colors: Set some crochet goals for adventure with color. Try some dramatic color combinations or seasonal palettes to give your projects fresh energy. Play with color swatches or use an online tool like https://colorkit.co/ for inspiration.
  2. Make Something for Yourself: Treat yourself to a cozy sweater, blanket, or accessory. It’s okay to be a little selfish with your craft!
  3. Crochet for the Holidays Year-Round: Did you struggle last month to finish crocheted Christmas presents for your loved ones? It’s never too early to start for next year. Avoid last-minute stress by working on holiday gifts and decorations throughout the year.

Share Your Progress

Keep yourself accountable and inspire others by sharing your crochet journey on social media. Show off your WIPs, finished projects, and any new techniques you’ve mastered. Use hashtags like #CrochetResolutions or #NewYearNewProjects to connect with the community.

Let’s make this year full of creativity, learning, and giving! Which resolution will you start with? Share your goals in the comments!

Crochet Your Way to Hydration: A Free Pattern for a Water Bottle Cozy

Crochet water bottle pouch

As spring blooms into summer, outdoor adventures become a staple. Whether hiking through lush trails, strolling along sandy beaches, or simply enjoying a picnic in the park, staying hydrated is vital. But let’s be honest, carrying a water bottle can sometimes be a hassle, especially if you’re juggling other essentials. That’s where a handy crochet water bottle cozy comes in, and I’ve got just the crochet pattern for you!

On a recent walk with my hubby and our dog, I wrestled with a water bottle and my phone, trying to take pictures, identify bird calls, and avoid tripping over the dog’s leash! I had my water bottle in a market bag over my shoulder, but it kept tipping over, and I didn’t want to carry it in my hand. The struggle was real. 

water bottle pattern for easy dog walking

It was then that I had the idea of a snug, hands-free water bottle cozy—a simple yet effective solution to keep hydration at arm’s reach without the fuss.

Introducing the Cross-Body Water Bottle Cozy—a versatile and practical accessory for outdoor escapades. Crafted with soft and absorbent cotton yarn, this pouch not only keeps your water bottle secure but also helps soak up any condensation, ensuring your other belongings stay dry.

Now, let’s dive into the easy-to-follow crochet pattern:

Materials Needed:

  • About 175 yards of Worsted-weight cotton yarn in the color of your choice. I used Caron Cotton Cakes Frozen Yogurt
  • 6 mm (J) crochet hook
  • Yarn needle

Abbreviations:

  • DC – Double crochet
  • Sl st – slip stitch
  • Inc – increase
  • Blo – back loop only
  • Sc – single crochet

Pattern:

Round 1: DC 12 in a magic circle. Join with a sl st in the first DC. Alternately, you can ch 3 and work 12 DC into the first chain. ch 2 (12 sts)

(Video instructions for a magic circle)

Round 2: [dc inc] x 12. Join with a sl st. Ch 2. (24 sts)

Round 3: [dc, dc inc] x 12. Join with a sl st. Ch 1. (36 sts) 

Each round from here is 36 stitches.

Round 4: SC in blo around. Join with a sl st. Ch 2.


Round 5: 2 DC in next sc. [Skip 1 st, 2 DC in next st] x 17. Ch 2 (18 clusters of 2 DC)

Round 6: Work 2 DC between the two DCs of the first cluster of the previous row. Repeat around to the end of the round. Join with a sl st. Ch 2.

Rows 7-9: Repeat row 6. Ch 1 after row 9.

Row 10: Work sc into each stitch around. Ch 1. TURN.

Row 11: Repeat row 10. Ch 2. TURN. 

Rows 12-25: Repeat rows 5-11 twice.

Row 26: 2 DC in next sc. [Skip 1 st, 2 DC in next st] x 17. Ch 2 (18 clusters of 2 DC)

Row 27: Work sc into each stitch around. Ch 1. TURN.

Row 28: Repeat row 10. Ch 1. TURN. 

Row 29-30: Repeat rows 27-28.

Row 31: SC in the first stitch after the joining. Work 7 more sc. Leave the rest of the row unworked. Ch 1. TURN. (8 sc)

Row 32-217: SC in each stitch across. Ch 1. TURN. (There will be 187 rows of 8 stitches)

Finishing:

Skip 10 stitches from the attached end of the strap. Sew the end of the strap to the next 8 stitches, making sure to secure it tightly. For extra strength, reverse and stitch again. This ensures that the strap is securely attached to the pouch, preventing it from coming loose during use. 

Sew in the ends and trim. 

Notes: 

I made this water bottle pouch to be a cross-body. You can easily shorten the strap (or extend it) by adding rows.


crochet water bottle pouch

You could also add rounds to the bottom of the cozy if your water bottle is larger than the foundation. For smaller bottles, you can reduce the number of rounds. This makes the pattern adaptable to different bottle sizes. 

And there you have it—a functional and stylish water bottle pouch ready for your next adventure! Here’s a photo of the finished product for your reference. 

You can customize the pattern by adding embellishments like tassels, beads, or even a contrasting color for the strap.

I hope this pattern brings convenience and joy to your outdoor experiences. Happy crocheting and happy hydrating!

The Unique Art of Crochet: Why Crochet Machines Aren’t an Option

Have you ever noticed that all mass-produced sweaters are knitted? If so, you may wonder if there are crochet machines to create items using crochet stitches that quickly. 

In an era of technological progress, it seems logical to assume that a crochet machine might exist, making the craft quicker and more efficient. The answer is unequivocal: crochet machines do not exist, despite what you will see if you search for them on line. (Sorry, Amazon, those are knitting machines.) Knitting has machines that can fabricate using the same principles, crochet remains a craft that demands the human touch. Crochet thrives on personalization and human ingenuity, elements that machines cannot replicate.

Why Aren’t There Crochet Machines? 

There are a few reasons why crochet machines do not exist. First, crochet is an art form that relies heavily on the creator’s style and technique. Each crochet piece is unique because of the choices made by the crocheter in terms of yarn, stitches, and design.

Secondly, the complexity of crochet stitches poses a challenging obstacle for automation. Crochet stitches are often looped individually, making it difficult for a machine to replicate the process with efficiency and precision. Moreover, the human element is crucial in adapting the technique to fashion intricate patterns and shapes.

The Beauty of Hand-Crocheted Items 

Because there are no machines to do it for us, all crochet items are handmade. This fact adds to the charm and value of crochet projects. Each piece is unique because a person has crafted with care and attention to detail. Hand-crocheted items are cherished for their uniqueness and the personal effort invested in their creation.

While it may be tempting to imagine a future where crochet machines make the craft quicker and easier, crochet will likely remain a human art form for the foreseeable future. The intricate nature of crochet stitches and the personal touch that each crocheter brings to their work are qualities that a machine cannot replicate.

Therefore, let us embrace the allure of hand-crocheted items and the skill of those who fashion them. Whether you are a seasoned crocheter or a novice, take pride in your work and the fact that you are part of a tradition that respects creativity and craftsmanship. Happy crocheting!

Choosing the Right Tools: A Beginner’s Guide to the Types of Crochet Hooks

Crochet hooks are the unsung heroes of the crafting world. They quietly facilitate the creation of beautiful crochet projects with each stitch. In this guide, we’ll look into the world of crochet hooks, exploring their types, materials, and uses. Whether you’re a seasoned crocheter or a novice picking up a hook for the first time, understanding the differences between the varieties of crochet hooks can elevate your crochet experience to new heights.

The Anatomy of Crochet Hooks

A crochet hook consists of several distinct parts, each serving a specific purpose in the crocheting process. Here’s an overview of the main parts of a crochet hook:

  1. Head: The head of the crochet hook refers to the tip or pointy end where the hook is located. The head is the part of the hook that catches the yarn and pulls it through loops to create stitches. The shape and size of the head can vary depending on the type of crochet hook and the manufacturer.
  2. Throat: The throat of the crochet hook is the area directly below the head where the shaft begins to widen. It acts as a transition point between the narrow head and the wider shaft, allowing the yarn to glide smoothly as you form stitches.
  3. Shaft: The shaft of the crochet hook is the elongated portion of the hook between the throat and the handle. The shaft may be straight or tapered, depending on the design of the hook.
  4. Handle: The handle, also known as the grip or grip area, is the part of the crochet hook the crocheter holds while working. Handles can come in various shapes, sizes, and materials to accommodate different preferences and ergonomic needs.
the anatomy of all types of crochet hooks

Types of Crochet Hooks:

Crochet hooks come in various types, each designed to cater to different crocheting styles and preferences. Traditional crochet hooks have a tapered throat and rounded head. Crafters prefer these hooks for a wide range of projects. On the other hand, ergonomic crochet hooks feature specially designed handles that enhance comfort and reduce hand fatigue during extended crocheting sessions. Individuals with arthritis or repetitive strain injuries often favor these hooks.

Additionally, specialty crochet hooks cater to specific crocheting techniques and projects. Tunisian crochet hooks, with their elongated shaft and stopper at one end, are ideal for creating intricate Tunisian crochet stitches. Double-ended crochet hooks enable crocheters to work in the round or create reversible fabrics effortlessly. Interchangeable crochet hooks offer versatility by allowing crafters to switch hook sizes or styles within a single project without changing the entire hook.

Materials:

Crochet hooks are made from different materials, offering distinct advantages and characteristics. Traditional crochet hooks are usually made from aluminum, steel, or plastic. They are durable and affordable. Aluminum hooks are lightweight and glide smoothly through yarn, making them popular with both beginners and seasoned crocheters. People favor steel hooks, known for their tiny tips, for working with delicate threads and laceweight yarns. Plastic hooks are gentle on the hands and ideal for crocheting with slippery or novelty yarns.

In recent years, crochet hooks made from alternative materials such as bamboo, wood, and ergonomic plastics have gained popularity among crafters seeking sustainable and ergonomic options. Bamboo and wood hooks offer warmth and flexibility, making them suitable for crocheting with natural fibers and creating a rustic aesthetic. Ergonomic plastic hooks, designed with comfort in mind, feature soft grips and ergonomic shapes that alleviate hand strain and promote a relaxed crocheting experience.

Sizes

Crochet hooks are sized using various systems depending on the country of origin or the manufacturer. The United States (US) and metric sizing systems are the most common. Here’s a brief explanation of each:

  1. United States (US) sizing: In the US, crochet hooks are typically sized using a lettering system ranging from B (2.25 mm) to S (19 mm) or higher. Each letter corresponds to a specific hook size, with smaller letters indicating smaller hooks and larger letters indicating larger hooks. For example, a size B hook is smaller than a size G hook.
  2. Metric sizing: The metric sizing system is based on millimeters (mm) and precisely measures the diameter of the crochet hook’s shaft. In this system, crochet hooks are sized using the actual diameter measurement in millimeters. For example, a 2.25 mm hook has a shaft diameter of 2.25 millimeters.

It’s important to note that there may be slight variations between manufacturers, especially for specialty or handmade hooks. I just recently realized that there are 2 G hooks. One is 4.0 mm, and the other, often listed as a size 7, is 4.5 mm. So paying attention to the recommended hook size and adjusting if needed to achieve the desired gauge and results in your project is essential.

types of crochet hooks sizes

Uses

The choice of crochet hook can significantly impact the outcome of a crochet project. When selecting a crochet hook, consider factors such as yarn weight, project complexity, and personal comfort preferences. Thicker yarns typically require larger hook sizes to achieve the desired fabric density and drape, while finer yarns necessitate smaller hook sizes for precise stitch definition.

Experimenting with different crochet hook types and materials can enhance your crocheting experience and inspire creativity in your projects. Whether you prefer the classic feel of a traditional aluminum hook or the ergonomic design of a bamboo handle, the world of crochet hooks offers endless possibilities for exploration and discovery.

Conclusion

As you embark on your crochet journey, remember that the humble crochet hook is more than just a tool—it’s a gateway to creativity, self-expression, and relaxation. By understanding the types, materials, and uses of crochet hooks, you can confidently choose the perfect hook for each project and embark on new crocheting adventures. So, go ahead, embrace the diversity of crochet hooks, and let your creativity flourish one stitch at a time.

Mastering the Fundamentals: A Beginner’s Guide to the Five Basic Crochet Stitches

Crochet, with its endless possibilities for creativity and expression, often begins with mastering the fundamentals. Just like learning the ABCs before diving into literature, understanding the basic crochet stitches lays the groundwork for more complex and complex projects. Whether you’re a novice or looking to refresh your skills, here are five essential stitches every beginner should know.

Chain Stitch (ch)

The chain stitch, abbreviated as “ch,” is the foundation for nearly every crochet project. It sets the stage for the following rows of stitches. To create a chain stitch, begin with a slip knot on your hook, then yarn over and pull through the loop on your hook. Repeat this process to form a chain of desired length. As well as forming the foundation for most projects, you will also use them for turning, creating a space, or as a base for other stitches.

Single Crochet (sc)

The single crochet stitch, abbreviated as “sc,” is the most commonly used in crochet. It creates a dense and sturdy fabric, making it ideal for various projects, from dishcloths to amigurumi. To execute a single crochet, insert your hook into the designated stitch, yarn over, pull up a loop, yarn over again, and pull through both loops on the hook. Practice maintaining consistent tension for neat and uniform stitches.

Double Crochet (dc)

Building upon the single crochet, the double crochet stitch, abbreviated as “dc,” adds height and texture to your work. It works up faster than single crochet and gives a more open and airy result. To work a double crochet, yarn over, insert your hook into the designated stitch, yarn over again, pull up a loop, yarn over once more, and pull through two loops on the hook. Finally, yarn over and pull through the remaining two loops.

Half Double Crochet (hdc)

As the name suggests, the half double crochet stitch, abbreviated as “hdc,” falls between the height of single crochet and double crochet. It offers versatility and creates a slightly looser fabric than single crochet, making it more breathable and drapey. To create a half double crochet, yarn over, insert your hook into the designated stitch, yarn over again, pull up a loop, then yarn over and pull through all three loops on the hook.

Slip Stitch (sl st)

The slip stitch, abbreviated as “sl st,” is the shortest of all crochet stitches and is primarily used for joining, shaping, or adding decorative details. It creates a seamless connection between stitches; you can use it to move across your work without adding height. To make a slip stitch, insert your hook into the designated stitch, yarn over, and pull through both the stitch and the loop on your hook.

Mastering these five basic crochet stitches lays a solid foundation for your creative journey in crochet. Through practice and experimentation, you’ll gain confidence, enabling you to tackle more advanced techniques and complex patterns easily. So pick up your hook, grab some yarn, and embark on your crochet adventure—a journey filled with endless possibilities and creativity! Happy crocheting!