Introduction to the Moss Stitch
Crochet offers a variety of stitches that allow for nearly unlimited project possibilities. With basic stitches like chain, slip stitch, single crochet, half-double crochet, and double crochet, you can master almost any pattern. So, let’s dive into the moss stitch—a versatile, beginner-friendly stitch that only requires knowledge of chains and single crochet.
Key Features of the Moss Stitch
- Also Known As: Linen stitch, granite stitch, or woven stitch.
- Reversible: No right or wrong side.
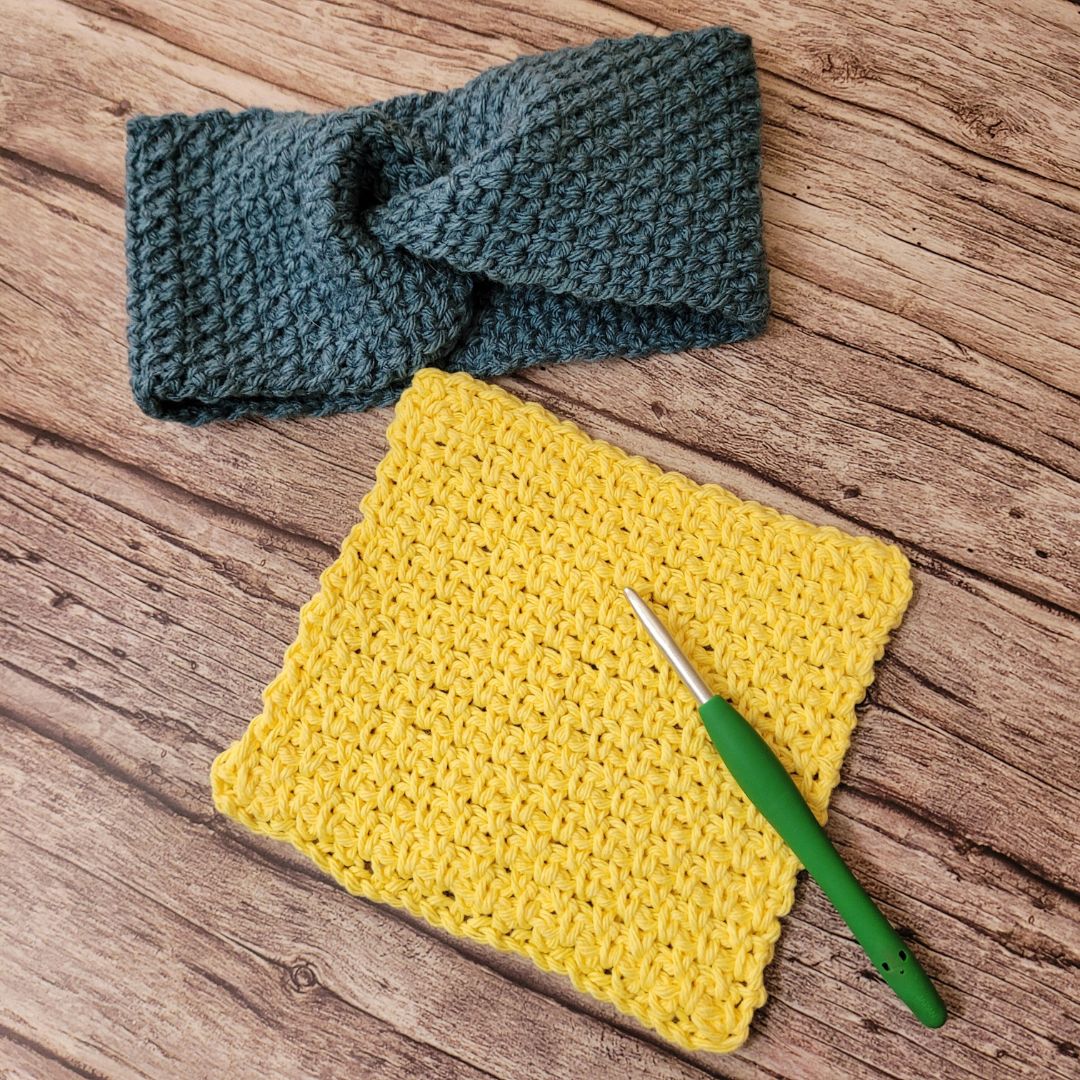
- Texture: A fabric with a nice drape and minimal holes.
- Uses: Perfect for scarves, headbands, sweaters, and more!
How to Crochet the Moss Stitch
- Foundation Chain: Start with an even number of chains.
- Row 1:
- Single crochet (sc) in the 2nd chain from the hook.
- Chain 1 (ch 1), skip 1 chain, sc in the next chain. Repeat from * to the end of the row.
- Chain 2, turn.
- Row 2:
- Single crochet in the first chain-1 space (ch-1 sp).
- Ch 1, skip 1 single crochet, sc in the next ch-1 sp. Repeat from * to the end of the row, finishing with a single crochet in the turning chain.
- Chain 2, turn.
- Repeat Row 2 until your piece reaches the desired length.
Special Note: In a pattern, “ch-1 sp” means working into the chain space created in the previous row, not into the stitch itself.
Now that you’ve mastered the moss stitch, it’s time to put your new skills to work! The moss stitch’s texture and drape make it perfect for a variety of projects, but today, we’ll use it to create a stylish and functional twisted headband. This quick and satisfying project is ideal for keeping your ears warm during colder months while adding a hint of handmade charm to your wardrobe.
Pattern: Twisted Headband
Materials
- Yarn: Impeccable Yarn in Misty Blue (or any similar worsted-weight yarn).
- Hook: Size I (5.5 mm) crochet hook.
- Other Tools: Tapestry needle, scissors.
Instructions
- Foundation Chain: Chain 20.
- Row 1:
- Sc in the 2nd chain from the hook.
- Ch 1, skip the next chain, sc in the next chain. Repeat across the row. End with a sc in the last chain.
- Ch 2, turn.
- Row 2:
- Sc in the first ch-1 sp.
- Ch 1, skip the next stitch, sc in the next ch-1 sp. Repeat across the row. End with a sc in the ch-2 space from the previous row.
- Ch 2, turn.
- Repeat Row 2 until the piece measures approximately 18 inches and fits snugly around your head. (approximately 79 rows for an adult female size).
- Finish: Leave a long tail for sewing.
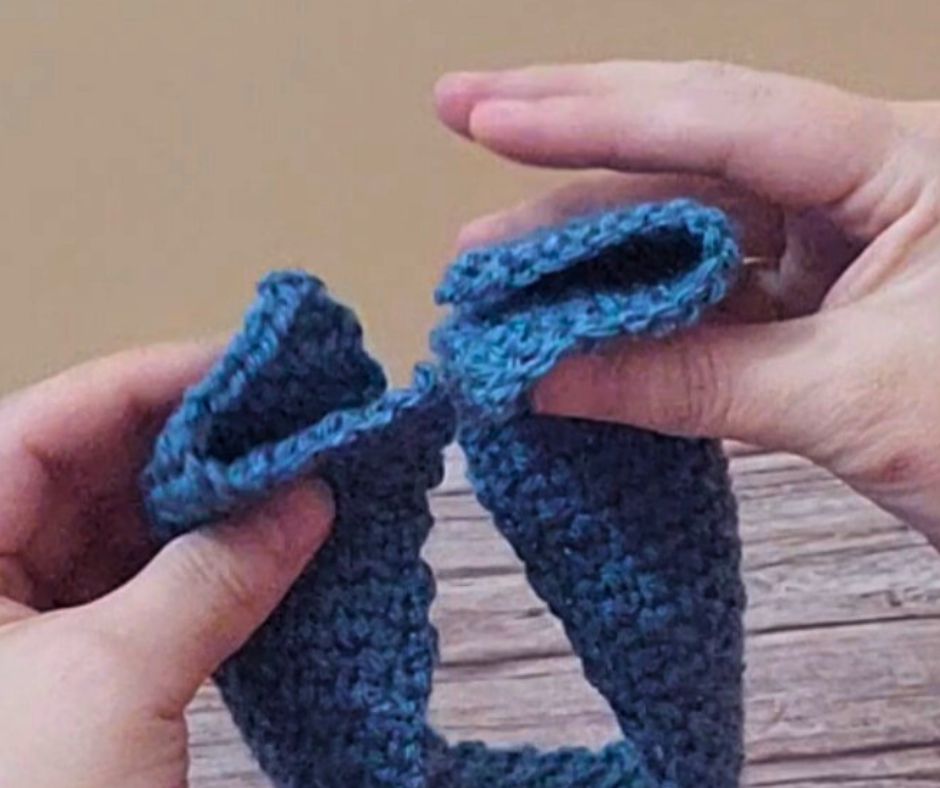
Creating the Twist
To see a video demonstrating how to make this twist, check out this video: How to Add a Twist to Your Crocheted Headband
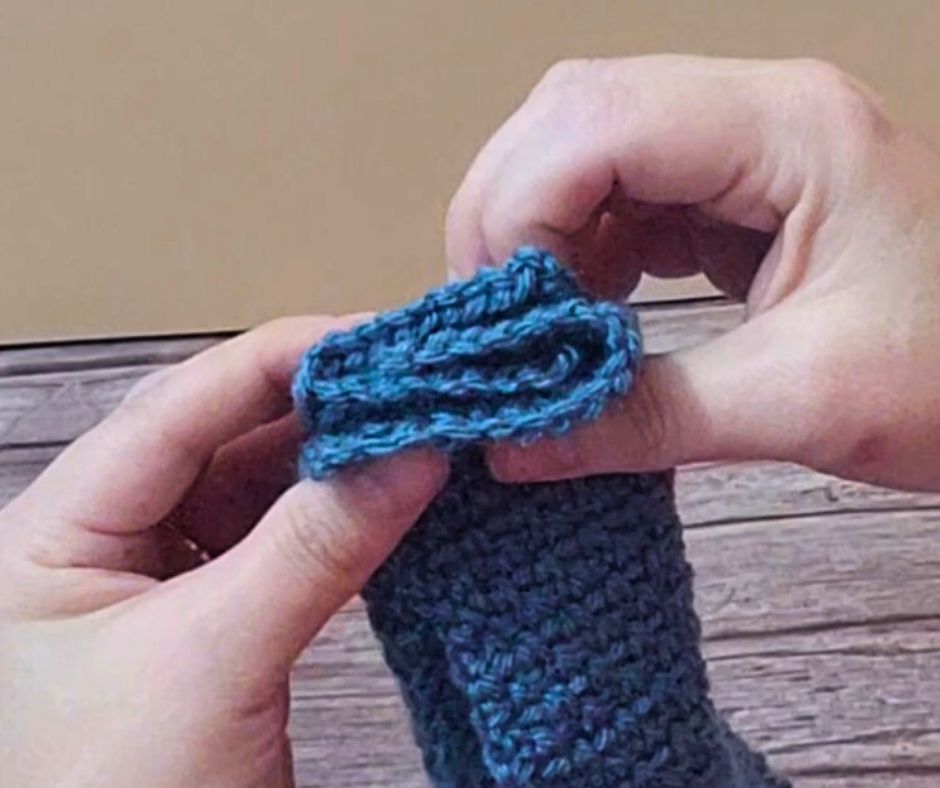
- Fold each end in half. (Figure 1 below)
- Slide one side of the band so its end overlaps the middle of the other end. (Figure 2 below)
- Use a tapestry needle to sew through all four layers. (Figure 3)
- Turn it inside out.

Finish the Project
Sew in the ends by running the yarn needle back and forth through the stitches 3 times. Trim extra yarn
Enjoy your new headband! The moss stitch’s simplicity and elegance make this project a great addition to your crochet repertoire.